
Starting seeds indoors is an energizing way for Canadian gardeners who have been feeling the winter blues, to get a jump on the growing season. With our long winters and short growing seasons in many parts of Canada, starting seeds indoors can help ensure an abundant harvest when the weather warms, and Summer finally arrives. Whether you’re growing vegetables, cut flowers, or herbs, this step-by-step guide will give your plants a head start, giving them the best chance to thrive once it’s time to transplant them in your garden.
Why Start Seeds Indoors?
In Canada, many plants need a longer growing season than our climate allows, especially in the Northern parts of our country. Starting seeds indoors, gives your plants several extra weeks of growth before transplanting outdoors. This can be a game-changer for many crops, from tomatoes and peppers to herbs and flowers. Also, by starting your own seeds you can save money and have access to a wider variety of plants than you might find at your local garden center.
1. Timing is Everything
The first thing to consider when starting seeds indoors is when to begin. Planting too early or too late can impact the success of your plants and the harvest they yield. For most vegetable and flower seeds you can plan to start them between 6-8 weeks before your garden zones last anticipated frost date. A garden zone also called a “plant hardiness zone,” is a geographic area defined by average minimum temperatures. A frost date is the average date of the last minor freeze in Spring or the first minor freeze in Fall. In Canada, frost dates vary widely, so it’s important to look up your specific hardiness zone to know when it’s safe to plant outside.
For example, I live in Southern Ontario in Zone 5b. The expected last frost is typically early May with an average 151 day growing season. This means it’s essential for me to start my seeds around mid- March thru early April. In northern regions, such as the Yukon or Northern Ontario, you need to start even earlier, especially because growing seasons are significantly shorter due to early frosts.
2. Choose Wisely
I will be honest; I don’t start all my garden plants from seed. When it comes to filling my gardens, I use a combination of seed starting, direct sowing and purchased seedlings. What I decide to grow from seed depends on three variables: how much space I’ve got to start them indoors, how much room I have in my garden, and what I want to harvest in abundance.
When it comes to my seed starting, I focus on tomatoes, peppers, squash, cucumbers, flowers and a lot of herbs. I save the bulk of my seeds for direct sowing focusing on peas, beans, salad greens, beets and carrots. That means I only need to purchase a few plants which I tend to grow in smaller yields.
Here are some common plants that are easy to grow from seed:
Vegetables:
- Tomatoes
- Sweet and Hot Peppers
- Cucumbers
- Summer Squash Varieties like zucchini
- Winter Squash Varieties such as butternut, acorn, or hubbard
Herbs:
- Basil (sweet and Thai are my favorites!)
- Thyme
- Parsley
- Cilantro
- Dill
Flowers:
- Nasturtiums
- Marigolds
- Sunflowers
- Nasturtiums
3. Gather Your Supplies
To get started, you’ll need a few basic supplies:
- Plastic covers or humidity domes: Covers can help keep soil warm and moist, while promoting faster germination. If you do not want to invest in plastic covers, you can always use clear plastic bags or cling wrap in a pinch.
- Seed trays or pots: You can use plastic seed trays, peat pots, or recycled containers (just ensure they have drainage holes!). If you are interested in going plastic free, you could consider soil blocking instead or reusing old egg cartons!
- Quality seed-starting mix: If you are new to seed starting, avoid using regular garden soil because it can be dense and often retains too much moisture. Instead, look for a light, fluffy, seed-starting mix. Better yet, create your own mixture. I like to combine coco coir, vermiculite, soil and worm castings.
- Grow lights or indirect natural light: Our Canadian winters don’t typically offer a lot of natural light for seeds to grow strong. If this is the case, consider investing in grow lights or placing your seedlings near a bright south-facing window.
- Heating mats (optional): Some seeds, like peppers, need warm temperatures to germinate. Although not essential, a heating mat can help maintain consistent warmth for young growing seedlings.
4. Planting the Seeds
Start by pre-dampening your soil mix and filling your containers two-thirds full. Gently, firm the top of the soil with your hand. Avoid packing down the soil to ensure the mixture remains aerated and light.
Read your seed packets for special instructions like pre-chilling or soaking seeds beforehand. Planting depth can also be found on seed packages. Generally, many seeds should be planted about 2-3 times as deep as their size. Once planted, cover the seed with soil mix and gently firm once again. Small seeds generally need less soil to cover them but also remember although pre-dampened, mist the top of the soil to ensure it does not dry out.
Some seeds require light to germinate, while others need darkness. Make sure to check your seed packets for instructions. For seeds that need darkness, cover the containers with a plastic dome or a plastic wrap to create a greenhouse effect. Lastly, use a permanent marker and write the name of the plant, along with the date you sowed the seed, on the container or on a popsicle stick to label your seedlings.
5. Creating the Right Environment
Seeds need warmth and moisture to sprout. In Canada, this means you may need to create a warm, humid environment indoors. If you’re using a heat mat, set the temperature between 18-22 degrees Celsius for most seeds. Place your seed trays in a warm, draft-free area in your home, like on top of a refrigerator, if you’re not using a heat mat.
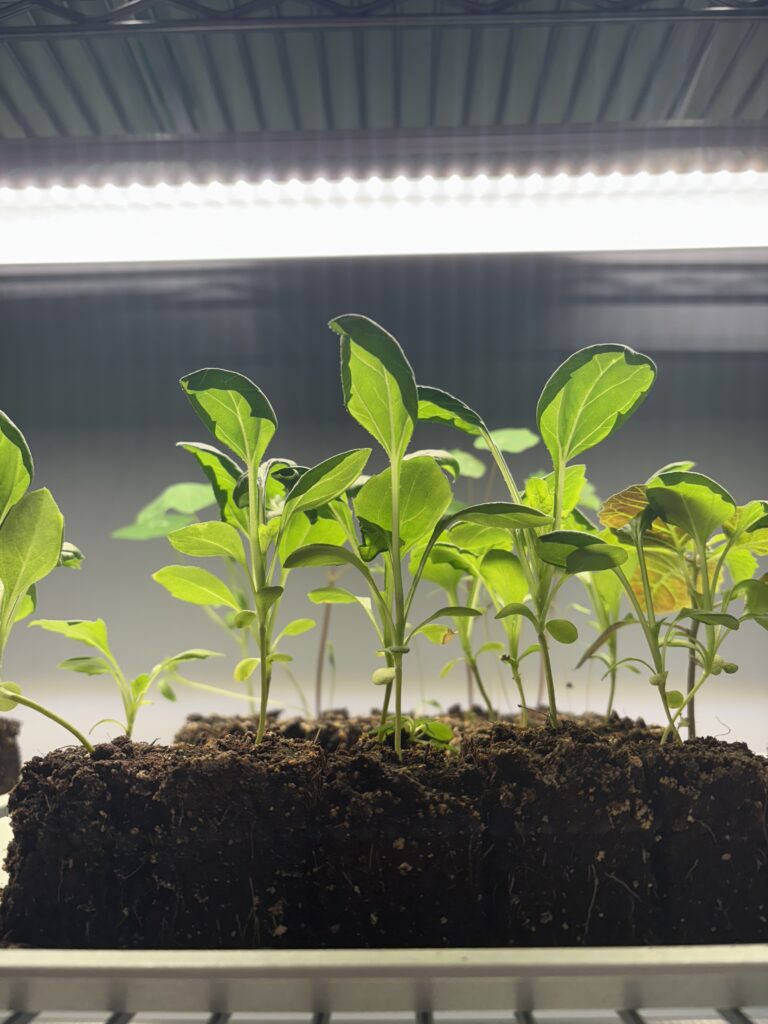
Once your seeds germinate and leaves begin to grow, remove plastic covers and move them to a bright spot with at least 12-16 hours of light per day. If you’re using grow lights, set them 4-6 inches above the seedlings and adjust as they grow taller. A timer is also a great investment if you are using grow lights to automate the number of hours your seedlings get each day.
6. Watering and Seedling Care
Seedlings need consistent moisture but be careful not to overwater them. Keep the soil moist (but not soaked). Also, avoid watering directly on sprouted leaves to prevent mold. Use a spray bottle or water from the bottom of your trays, that way seedings can soak up water though the drainage holes in the bottom of the containers.
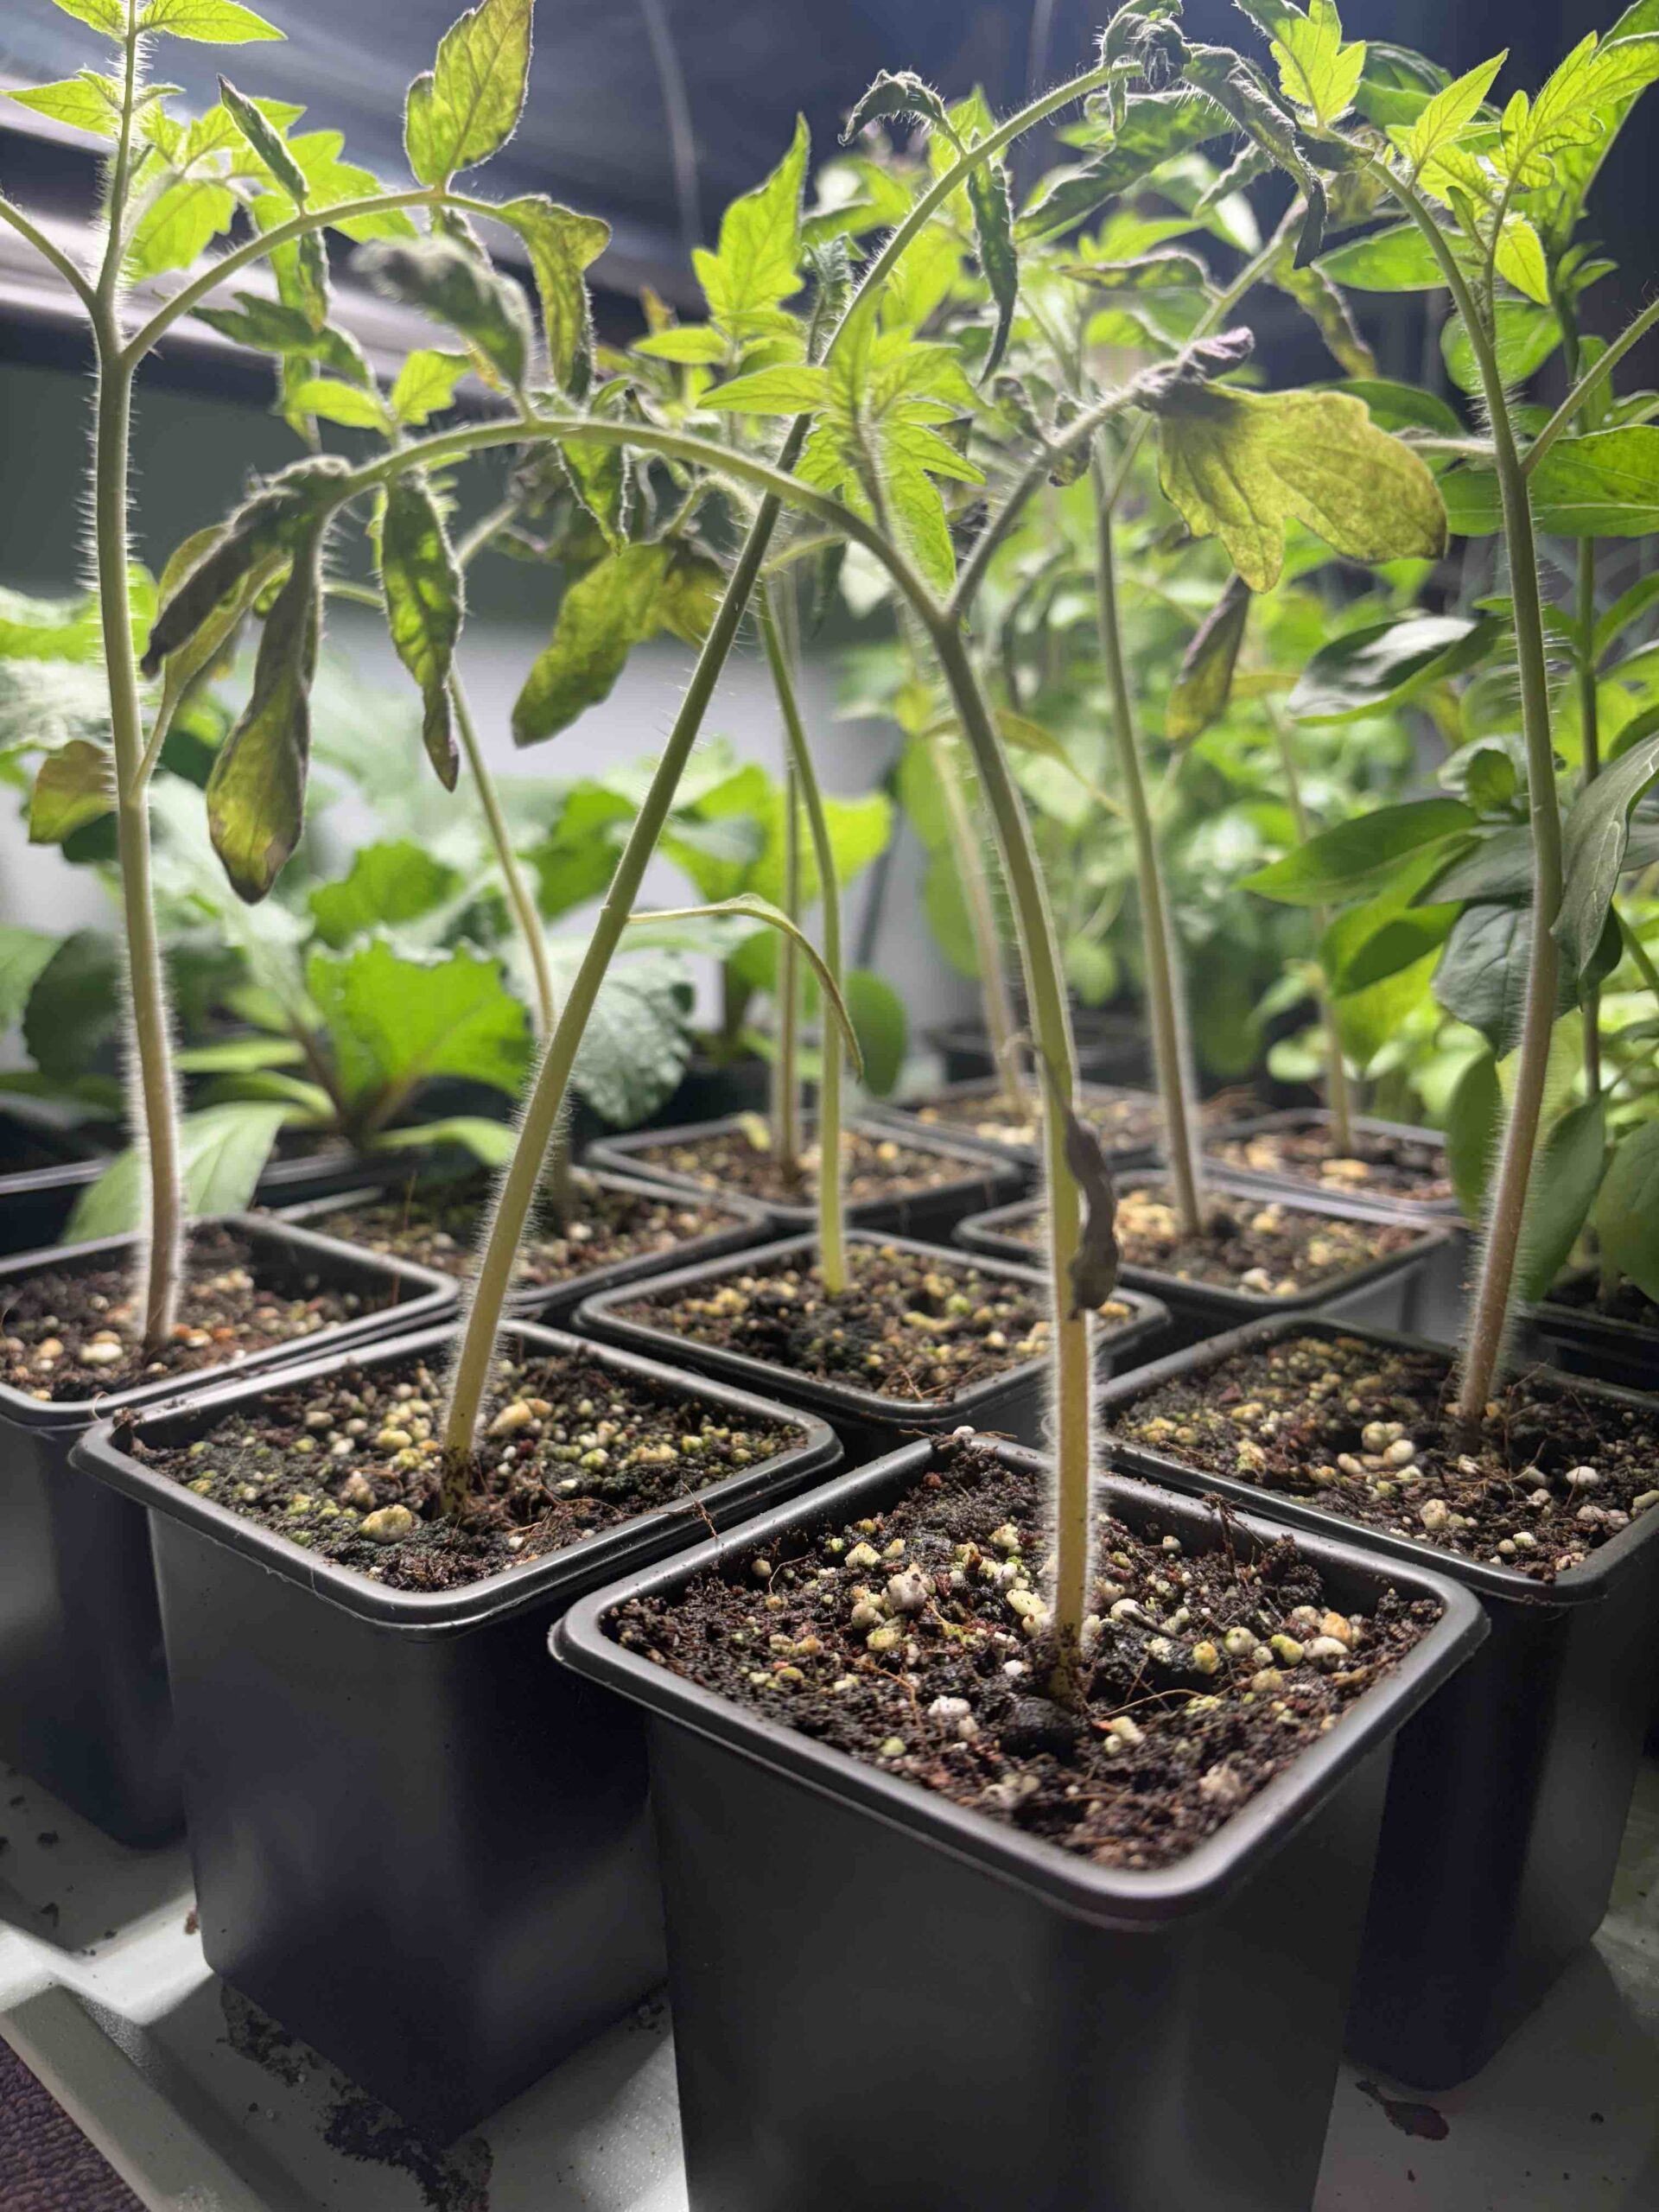
As the seedlings grow, they may start to look “leggy” if they aren’t getting enough light. If you notice this happening, either increase the light duration or move the plants closer to the light source. Also, make sure the temperature stays within the recommended range for the specific plants you’re growing.
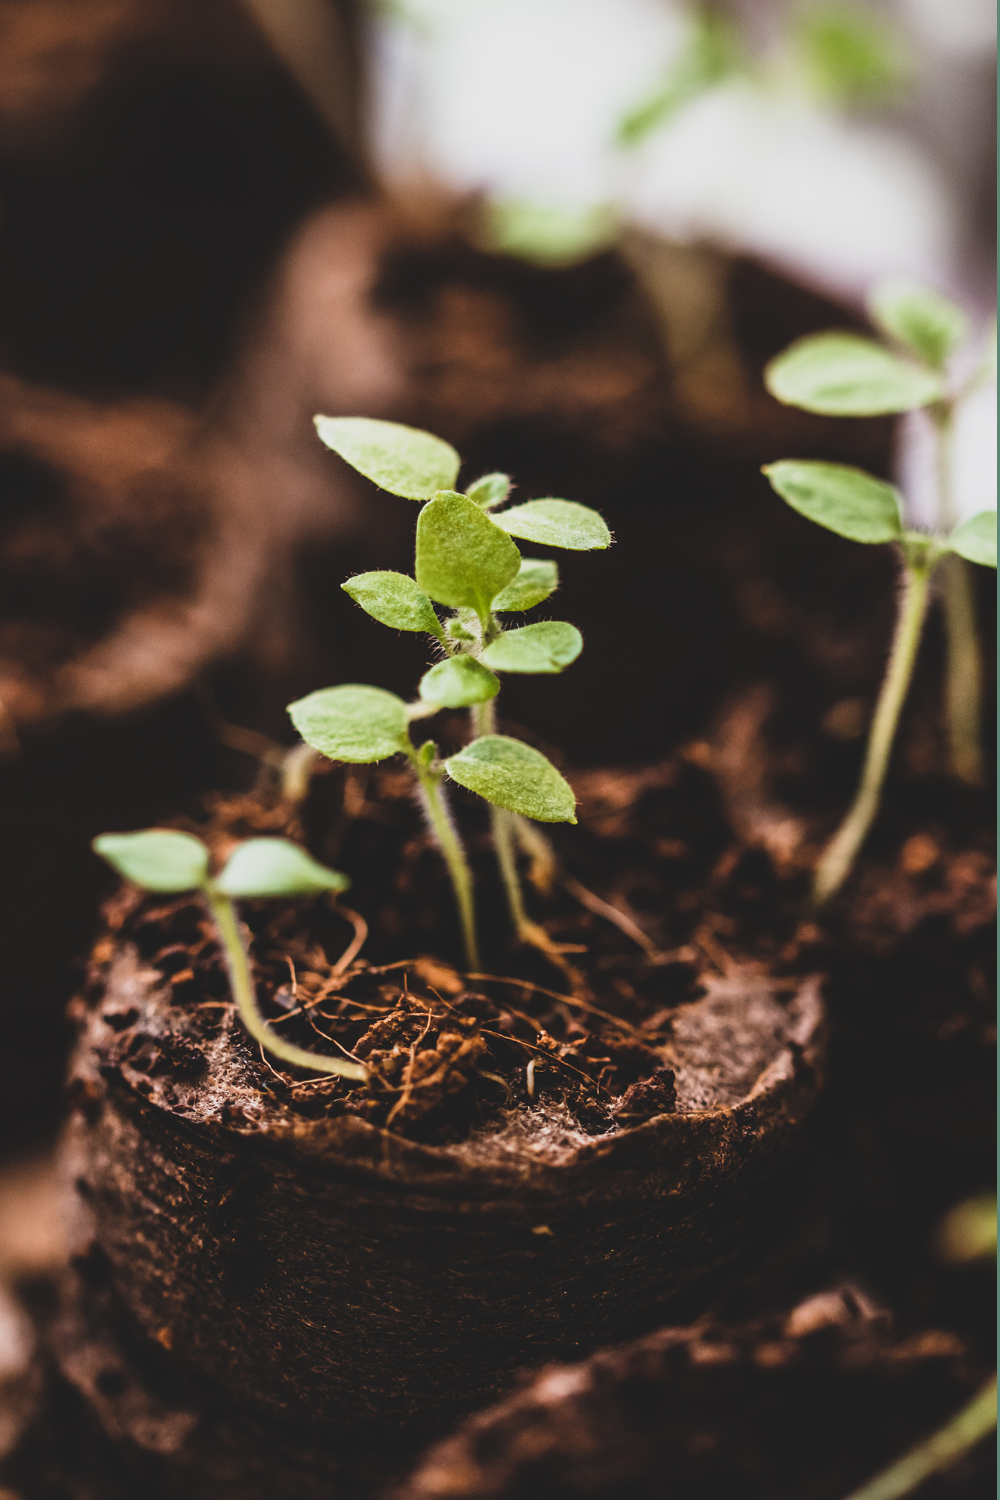
7. True Leaves and Hardening Off
Seedlings are ready to be hardened off once they have grown their second set of true leaves. The first leaves a seed sprouts are called cotyledons. These seed leaves are generic in shape. They function to provide nutrition during seed germination.
True leaves look more like the mature plants leaves and are the second set of leaves that emerge from the plant. True leaves function to provide photosynthesis. These types of leaves grow with the plant. Once a plant has grown its second set of true leaves and is a few inches tall, it is time to consider hardening them off.
Before transplanting your seedlings outdoors, it’s essential to harden them off first. The hardening off process helps acclimate plants to the outdoors and the seedlings future environment. About a week or two before your last expected frost date, start by taking your seedlings outside for a couple of hours a day in a shaded, sheltered spot.
Gradually increase the time and exposure to direct sunlight over several days until they’re fully adjusted. This includes getting your plants accustomed to being outside at night as well. Just make sure to cover them if you anticipate the evening temperature to dip below 10 degrees Celsius. Once you know that your plants can thrive during the day and night, you are ready to transplant them outside.
8. Transplanting Outdoors
Once your seedlings have reached a few inches in height, have been hardened off and your zone has passed the risk of frost, it’s time to plant your seedlings out in the garden. Be sure to plant them at the right depth and spacing, as indicated on the seed packet. Water them thoroughly after transplanting and continue to monitor their progress.
Final Thoughts
Starting seeds indoors can be one of the most rewarding parts of gardening, especially for the Canadian gardener looking to make the most of their short growing season. By following these tips and planning ahead, you can ensure that your garden will thrive once the weather warms up. With patience and care, you’ll soon be able to enjoy the fruits of your labor with a garden full of healthy, homegrown plants.
Happy gardening! 🌱